Butterfly lighting is a classic and long-lasting method in portrait photography that makes photos look glamorous and good on people. Its signature look, which you can see in old Hollywood portraits and current beauty ads, can bring out the best in your subject's features while adding a touch of class. Learn the ins and outs of this classic portrait lighting arrangement with the help of our comprehensive guide.

What is Butterfly Lighting and Why Is It So Flattering?
Butterfly lighting is a foundational portraiture technique, prized for producing clean and universally flattering results. Named for the delicate shadow it creates under the nose, this style has been a staple in beauty and fashion photography for decades. Its popularity comes from a straightforward setup that beautifully interacts with facial structures, lending a polished and sophisticated look that can elevate any portrait. The final image feels glamorous, sculpted, and timeless.
The Key Characteristic: The Signature Butterfly Shadow
The technique's defining feature is the small, symmetrical shadow that forms directly beneath the subject's nose, resembling a butterfly's shape. This is achieved by placing the main light source high and centered in front of the subject, angled downward. The goal is a shadow that is clearly defined but not overwhelmingly deep. It should add dimension by separating the nose from the upper lip without becoming a distraction. The shadow's size and softness can be precisely controlled by adjusting the light's height and distance, allowing for a range of looks from soft to dramatic.


- Regular price
- Sale price
- from $992.00
How It Sculpts and Enhances Facial Features
The high, central placement of the light does more than just cast a shade; it shapes the whole face. This light from above draws attention to the cheekbones by leaving soft shadows below them. This gives the face definition and a slimming effect that you want. For this main reason, butterfly lighting is great for taking pictures of people who look good. The light falls on the face and makes the forehead and bridge of the nose stand out. It also makes the chin look more defined. This play of light and shadow gives the face depth, keeps it from looking flat, and smooths out fine lines to make the skin look less rough. The bright catchlights in the eyes from the high-angle source also make them look alive and bright.
Butterfly vs. Rembrandt Lighting: What's the Key Difference?
While both are classic portrait patterns, butterfly and Rembrandt lighting create different moods. The key difference is the light placement and resulting shadows. As noted, butterfly lighting uses a high, central light to create a symmetrical shadow under the nose, resulting in a bright, glamorous look.


- Regular price
- Sale price
- from $424.00
In contrast, Rembrandt lighting places the light higher and to the side. This creates a small, inverted triangle of light on the cheek opposite the light source, formed by the nose shadow connecting with the cheek shadow. This setup yields a more dramatic, moody, and painterly feel with deeper, more sculpted shadows on one side of the face.
Your Essential Gear List for a Butterfly Lighting Kit
Assembling the right equipment is the first step toward creating stunning portraits. While a minimal setup can work, these core components will provide maximum control over your Portrait Photography Lighting.
- Camera and Lens: A camera with manual controls is ideal. For lenses, primes in the 50mm to 85mm range are highly recommended for their natural perspective without distortion. High-end smartphone portrait modes can also produce surprisingly good results.
- Main Light Source: Your primary light is the heart of the setup. Options include powerful studio strobes, portable off-camera flashes (speedlights), or continuous LED lights. Continuous LEDs are especially useful for seeing the light's effect in real-time, which is great for detailed work like makeup shots. A versatile setup like the Max 80W is a perfect example of a system that gives you that direct, what-you-see-is-what-you-get control.
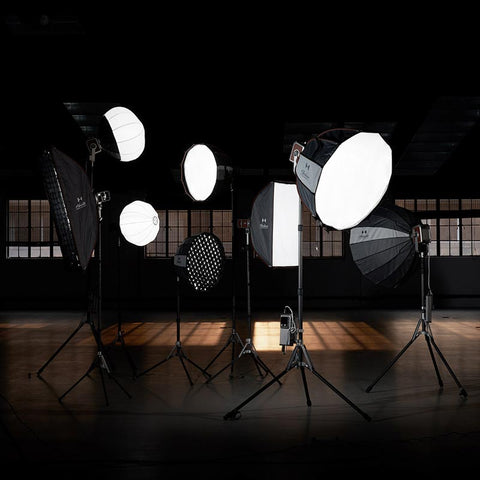
- Light Modifiers: A bare light source creates harsh shadows. To get the classic soft look, you need light modifiers. A softbox is an excellent tool that diffuses and directs the light for a soft, even quality. An octagonal softbox is particularly popular as it creates pleasing, round catchlights in the eyes. An octagonal softbox, like the 24in Shallow Quick Release Softbox from Harlowe, is particularly popular because it creates those pleasing, round catchlights in the eyes.
- Reflector: A reflector is an essential tool for this technique. The high-angled main light creates shadows under the chin; a reflector bounces light back up to soften them. This balances the exposure and gives the final image a professional polish. A silver reflector provides bright, crisp fill, while a white one offers a more subtle effect.
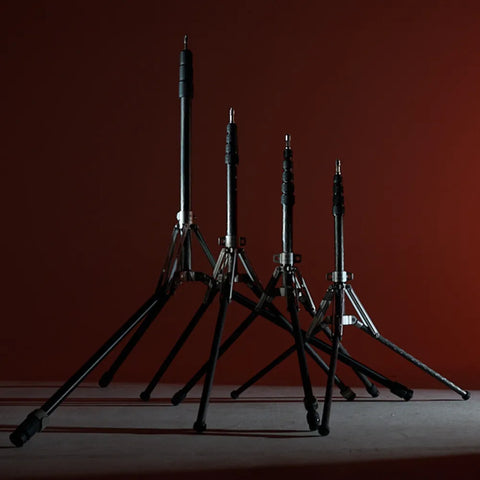
- Stands: You will need a sturdy light stand to hold your main light and modifier securely. For heavier combinations of lights and a large softbox, a C-stand offers superior stability. A separate stand or an assistant may be needed to hold the reflector.
How to Set Up Butterfly Lighting
As long as you understand the basic ideas, setting up is easy. Putting your single key light in a certain way around your subject is the goal.
First, get your subject to face the camera. Put your key light in front of the subject, with a softbox or some other modifier on it. The most important thing is the height: the light needs to be above eye level and directed down 45 degrees toward the face. Watch the shade under the subject's nose as you change the height of the light. You want that butterfly form that you know and love. We need more light if the shadow is too long. Too little light or no shadow at all means the light is too bright.
To get a balanced picture, put your camera right in front of the subject at eye level. And finally, add a light or reflector. Angle it so that the light bounces up into the shadows and places it under the subject's chin. Change the angle of the light or reflector until you're happy with how the shadow under your chin looks.
Common Mistakes to Avoid for Beginners
Although easy, several typical mistakes might annoy newcomers. Knowing this will help you troubleshoot during shoots.
Misplaced lights are the most common mistake. Low illumination creates flat, boring lighting. Positioning it too high generates an unsightly long nose shadow and might place the eyes in deep shade, removing their catchlights. Harsh lighting is another mistake. Not using light modifiers causes this. A bare flash creates harsh shadows, which contradicts this style's gentle glamour. Always use a big softbox or umbrella. The right modifier choice can transform a simple portrait into a powerful visual story.
Finally, neglecting or misusing the reflector is usual. That black shadow under the chin can be annoying without it. Be sure to position it to reflect light into the shadows. Be careful not to overfill the shadow, which will negate the sculpting effect.
Now It's Your Turn
Now that you understand the principles, the gear, and the setup, it's time to put your knowledge into practice. Butterfly lighting is a versatile and forgiving technique, making it the perfect starting point for anyone looking to improve their portraiture. Experiment with different light sources and modifiers, and don't be afraid to make small adjustments to create a look that is uniquely yours.
FAQs about Butterfly Lighting
Q1: What is the best light modifier for butterfly lighting?
Most of the time, a softbox or octabox is better. Its shape makes a natural, round catchlight in the eyes and gives off just the right amount of soft light and controlled direction, making it great for softbox lighting.
Q2: Can I use butterfly lighting for male portraits?
Of course. It's most often used for Harlowe-style glamour shots, but it can also work well for guys. If you want to go for a more traditional manly look, use a harder light source, like a beauty dish or a smaller softbox, to make the shadows on your face stand out more.
Q3: What is the ideal camera setting for this lighting style?
For strobes, set your camera to its base ISO (e.g., 100) and sync speed (e.g., 1/200s). Then, control the exposure with your aperture (f/4 to f/8 is a good start) and the flash power. For continuous light, you will balance all three settings: aperture, shutter speed, and ISO.
Q4: How do I get catchlights in the eyes with butterfly lighting?
The high placement of the light naturally creates catchlights, which are reflections of the light source. They typically appear in the upper portion of the eyes, adding life to the portrait. If catchlights are missing, your light source is likely positioned too high.
Q5: Can butterfly lighting be used for group photos?
For groups, it is a difficult task. It's hard for multiple people to get the light exactly where it needs to be in relation to the subject at the same time for this method to work. It works best for one person or a close-up of two people. A bigger lighting setup works better for groups.


